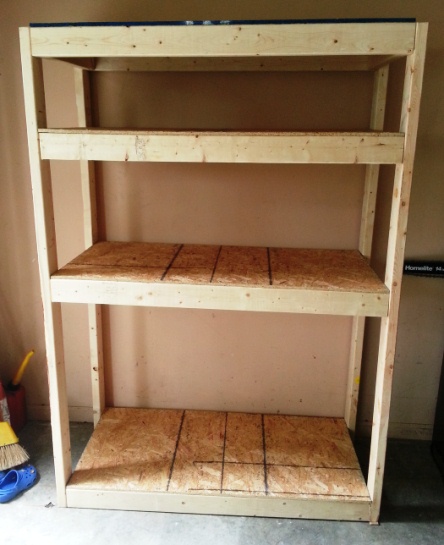
My garage was recently a junk heap. It was the victim of years of “just put it in the garage”. There were broken kids toys, toys that worked fine but hadn’t been played with in years, cardboard boxes, and just plain junk. The problem is that the garage is MY area. It’s the closest thing to a man cave that I have. But the only usable space we had was a small path from the door into the house and outside to the cars. I decided to make a change.
I started by cleaning it out. I borrowed my father-in-law’s truck and began making trips to the dump. It took 4 trips and lots of sweat but we were able to get it cleaned out dramatically. I still had a small pile of items with nowhere to put it. So I began my search for a cheap garage storage shelf. Well, cheap is a relative term because all I could find were flimsy shelves for around $100. I knew I could do better than that. I started searching for cheap plans to build my own shelf.
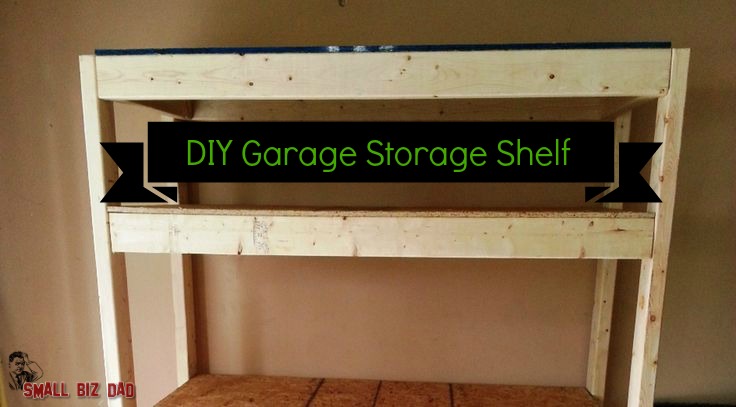
I didn’t find any one plan but instead I combined several to make my own easy to build, cheap garage storage shelf. So I thought I’d share with my readers how to build it. This shelf is 6′ tall, 4′ wide, and 2′ deep.
Materials
The materials are really easy and you can even have the hardware store (I used Lowes) cut your plywood for you. This is your only cost with the shelf. I was able to buy all of my supplies for less than $30.
- 3″ deck screws (1 lb box)
- 1 4’x8′ OSB (cut into 4 equal boards of 2’x4′)
- 9 2″x4″x8′ Studs
Tools Needed
These are the tools I used. Yours may be different according to what you have and how you want to work.
- Drill (cordless or corded)
- Philips head bit for drill
- small drill bit to pre-drill holes
- clamps (these aren’t needed if you have help building it)
- circular saw (for making cuts)
- level
- speed square
- pencil
The Cuts
Remember, you can have the hardware place cut your OSB for you. If not, then just cut it into 2′ sections. You should end up with 4 2’x4′ boards.
You will need to cut the following lengths of 2’x4′:
- 4 boards at 72 inches (this will be your four vertical beams.
- 8 boards at 48 inches (these will be the long sides of your shelf supports)
- 8 boards at 21 inches (these will be the short sides of your shelf supports)
That’s all the cutting you will need to do. Next you can begin assembly.
Assembly
Now the fun begins. I took two 21 inch boards and two 48 inch boards and assembled the bottom shelf. This is done by placing one screw through the side of the long board into the end of the short board. Once done, this will create a rectangular box.
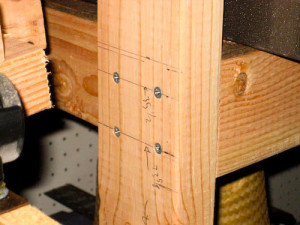
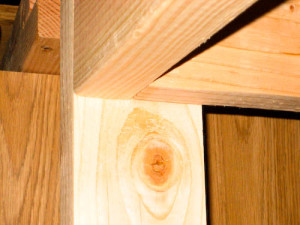
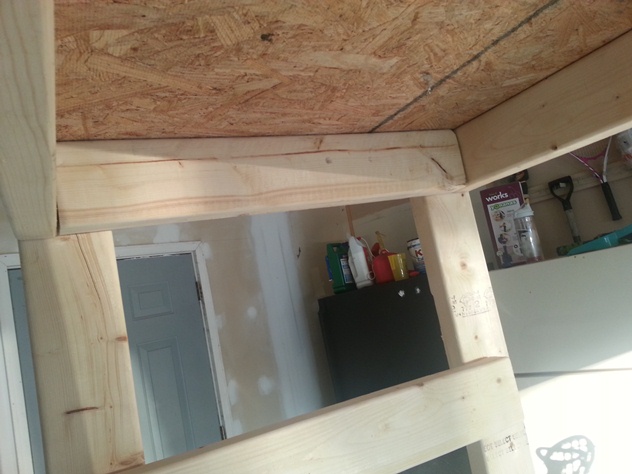
Next I attached the 4 vertical boards. You place the vertical board on the outside of the box you created. Then place 2 screws into the end of the long board and 2 screws into the side of the short board. See the two photos below for an example of all joints on the shelf.
Next I connected the vertical boards together using 2 21 inch boards and 2 48 inch boards for the top shelf. This involved me using my clamps for extra hands. But if you have someone helping it shouldn’t be an issue for you. Just be sure that everything is square and level at this point or you could run into problems later on.
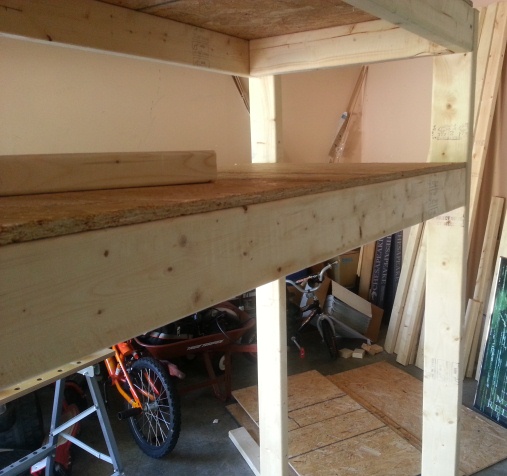
At this point I had 4 vertical boards with top and bottom shelf supports. I then added the OSB to the bottom and top shelves. This helps square up the shelf and add stability. I secured the OSB with 8 screws per sheet.
Now I needed to add the two middle shelves. This was done by securing the 21 inch boards first. When doing it this way be sure to allow enough room on the vertical board for your long 48 inch board to sit flush. Next I added the 48 inch boards and lastly added the OSB to the final two shelves.
 | |
| |
This was the first think I’ve ever built from scratch and I’m pretty happy with it. Of course it isn’t perfectly square. This is partly due to the cheap 2’x4′ boards I bought and partly because my cutting was not exact. But the shelf is solid and it works great.
I was concerned that it would need diagonal braces but the 2 foot depth seems to make it very solid. I’m considering making another shelf. If you have your own garage storage shelf plans, leave them in a comment below.

